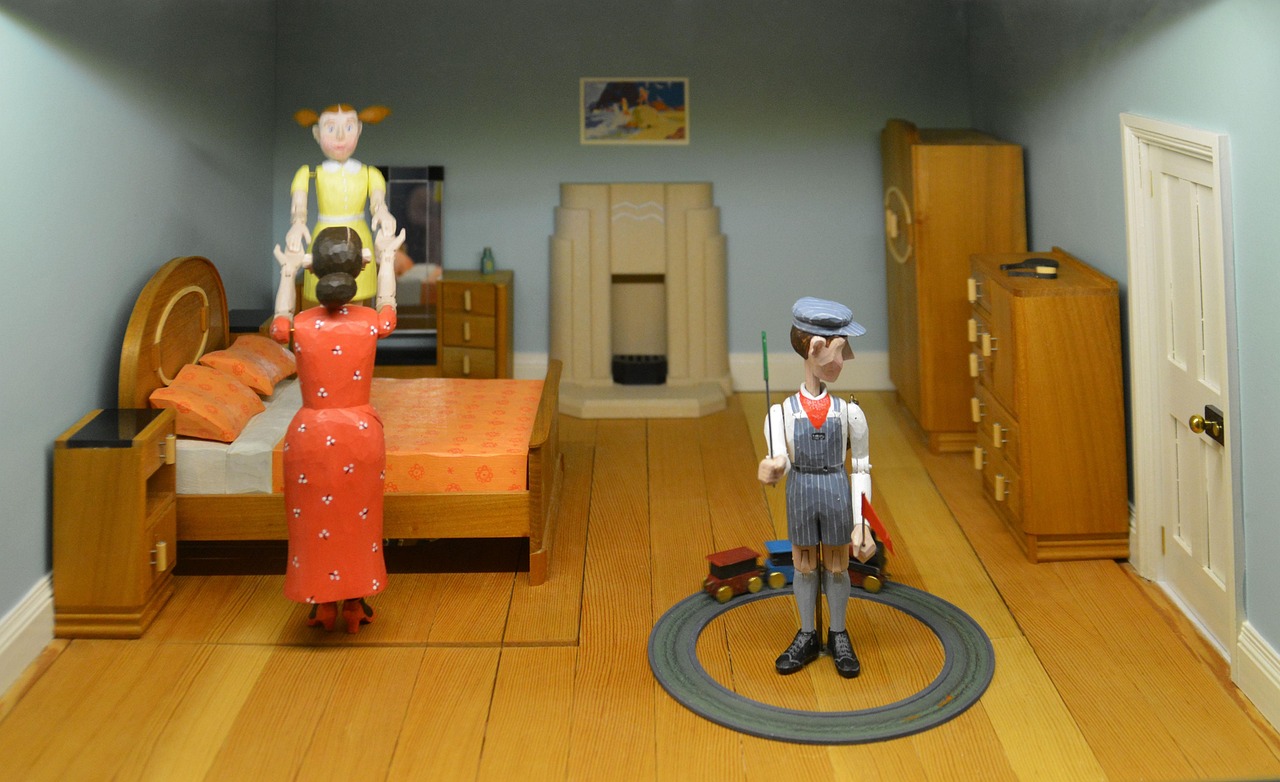
Miniature house kits and book nooks look like toys in a photograph and behave like scale models in practice. They arrive flat, with hundreds of small parts, and building one is measured in evenings rather than minutes. That is the appeal for the right person and a genuine disappointment for anyone expecting something that snaps together.
Read the whole instruction booklet first
Before cutting anything, read the booklet end to end. Kits are almost always assembled in a specific order because sub-assemblies have to go in before walls close, and discovering that the lighting is fitted at step nine when you are at step twenty-two means dismantling work you have already glued.
Many kits are translated, and the instructions are frequently more diagram than text. Where a step is unclear, the exploded diagram is usually more reliable than the wording.
Set up a proper workspace
You need a flat surface you can leave undisturbed for several days. Half-built kits do not travel well and cannot be tidied into a drawer mid-build.
Good light matters more than people expect. So does a light-coloured cutting mat, because the majority of small parts that go missing are dropped onto a patterned carpet and never seen again.
Tools worth having
- Tweezers, ideally two pairs, one straight and one angled. Fingers are too big for most of this.
- A sharp craft knife and spare blades. A blunt blade tears laser-cut card and MDF.
- PVA glue and a fine applicator. Most kits assume white glue rather than superglue.
- Superglue for small joints where clamping is impossible — used sparingly, as it fogs clear plastic.
- Small clamps or clothes pegs for holding glued joints square.
- A metal ruler for straight cuts.
- Fine abrasive paper to clean up laser-cut tabs.
Most kits do not include tools, and the ones that include a tweezer include a poor one.
Sorting parts before starting
Empty every bag into labelled compartments — an egg box, a bead organiser or a set of small dishes. Kits often supply parts in bags that do not correspond to build stages, and sorting by type first saves an enormous amount of searching later.
Count anything that comes in a specific quantity against the parts list, and do it on day one. A missing part is much easier to resolve at the start than at step thirty.
Glue discipline
The commonest beginner error is too much glue. Excess PVA squeezes out of joints, dries shiny and will not take paint or stain evenly. A small amount applied with a cocktail stick is almost always enough.
Let joints cure before moving on. PVA grabs in minutes and reaches full strength in hours, and a structure assembled faster than the glue can set will drift out of square. Check corners with a small square as you go — a house that is out of true at the base is out of true everywhere.
The LED unit
Most kits include a small battery-powered LED string. Fit it at the stage the instructions specify, and test it before enclosing it, because a dead LED behind a glued wall is not recoverable.
Route the wire where it can be replaced, and note where the battery box ends up — a battery box sealed inside the model is a design that will eventually fail. Check whether the kit uses button cells or AA cells before starting, and have them ready.
How long it really takes
A small book nook is typically eight to fifteen hours. A full room-box or house is often twenty to forty. Spread over evenings, that is one to three weeks, and rushing it produces visible results because the glue does not get time to cure.
It is a genuinely absorbing project for the right person and a chore for the wrong one, which is why the age guidance on these boxes is usually teen or adult.
Dust and display
Finished miniatures collect dust and are almost impossible to clean, which is why many kits include a dustproof cover or a display case. If yours does not, plan for one before you build rather than after — a case bought to fit is far easier than a model built to fit a case.
Keep it out of direct sunlight; printed papers and fabrics in these kits fade quickly.
Piece counts, build difficulty and age guidance are on every listing in miniature house kits.
Lighting the workspace properly
Nothing improves a build more than light. A cheap adjustable desk lamp positioned to the side rather than behind you removes the shadow your own hands cast over the work, which is the single most common reason small parts are placed slightly wrong.
A magnifying lamp is worth considering for anyone over about forty, and it is not an admission of anything — the parts in these kits are genuinely small, and eye strain across a twenty-hour build is real.
Working with the printed papers
Most kits include printed wallpapers, floors and posters on thin paper. These are the parts most easily ruined: they tear when wet with glue, they curl, and they show every fingerprint.
Use a glue stick rather than PVA for large flat papers, work from the centre outward with a soft cloth, and cut with a fresh blade against a metal rule rather than with scissors. If a kit supplies a spare sheet, keep it flat and dry rather than folding it into the box — you will probably need it.